Adding a Table
You can load a table in gvSIG in two ways:
- From the “Project manager”
- From the “View”
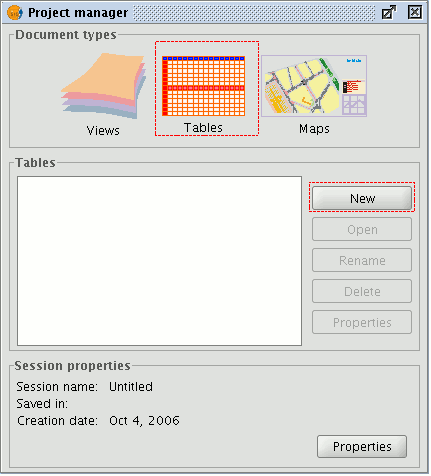
Select “Tables” as the document type from the “Project manager” and click on “New”. A dialogue box will open in which you can add the table.
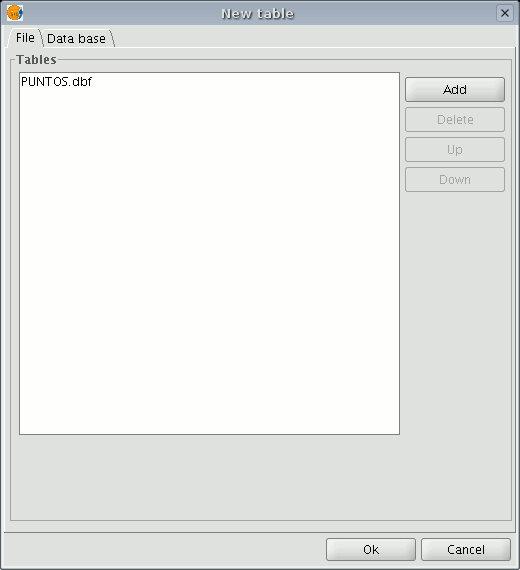
When you click on the “Add” button, a browser window will open.

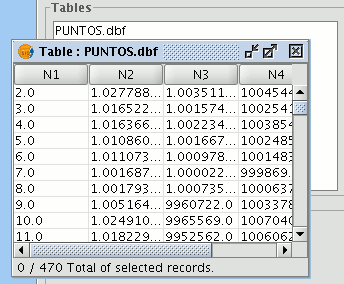
Specify the type of file you wish to load in gvSIG in “Files of Type”. When you have located the file that contains the table, select it so that it is added to the “File name” text box and click on “Open”. You will automatically be returned to the "Add table" dialogue. If you wish to add more than one table, click on "Add" again and repeat the process. When you have finished, click on “Ok”. The table will then be displayed. It will also appear in the “Project manager” text box.
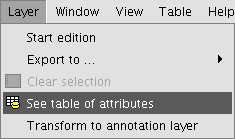
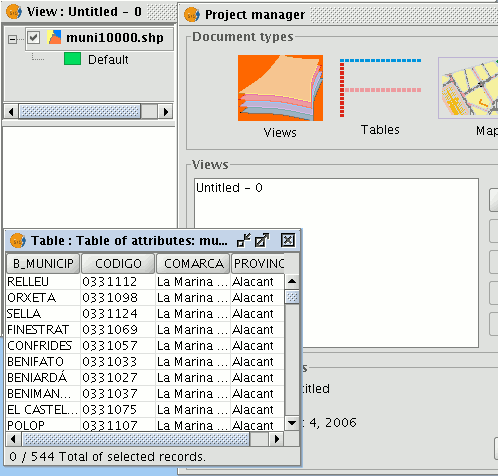
Click on the "See table of attributes" button from the display window of a view with at least one active layer, i.e. a layer that is selected in the ToC,

or go to the "Layer" menu and then select the "See table of attributes" option.
The table will automatically be added to the project.
If you minimise the view, go back to the "Project manager" and select "Tables" as the document type, you will see that the table displayed in the view appears in the text box.
